
10 Pilates Exercises to Keep You Moving - Joanna Koleth
Pilates is a series of exercises designed by Joseph Pilates in the 1920s. It was started to help people address their overall health, posture, inefficient breathing patterns, and other stressors of modern society. Today, Pilates is used in various ways. For some, it’s a workout and way to keep fit, and for others, it’s a tool to rehabilitate an injury, surgery or aid postpartum moms.
I started my Pilates journey while in high school, as an extracurricular activity. However, it wasn’t until college that I realized the benefits it had on my body and the correlation to my performance as a dancer. It made me aware of what my body was doing outside the dance class: hiking my hip while standing in line for groceries, or sitting in the car driving and leaning more to the right side. For some, that might sound a little over-the-top to be analyzing your everyday movement, but we should remember that we were created to be movers. It’s in our everyday functional movements where it matters the most to be moving efficiently.
The more we’re aware of how our body best moves and what postures contribute beneficially, the more we can move freely. I’ve personally enjoyed Pilates because of the calm concentration it demands and the way each movement flows from one to another. By the end of every session, I feel more awake, lengthened out in my body and blood-pumped ready to start my day.
Below, you’ll find some posture tips, along with 10 classical Pilates exercises that you can choose to do as a 10-15 minute standalone workout or as a supplement to your movement practice, in your warm-up or to build core-strength.
Posture Tips for Pilates
It’s important to note that alignment and posture are what make these exercises effective. Try your best to move with deep breaths and avoid powering your way through them with momentum.
Pelvis
Most Pilates exercises below require you to be in a neutral pelvis or begin the movement in one. Neutral pelvis refers to the alignment of your hip points (the protruding bones on either side of your hips) with your pubic bone.
To find this position, lie with your back on the floor, knees bent and feet on the floor. Place the heels of your palms on your hip bones and touch your thumbs together. Place your fingers down to form a triangle, with your pointer fingers resting on your pubic bone. Regardless of your body shape, if you’re in a neutral pelvis, your palms should be flat and parallel to the floor. If your finger tips are pointing diagonally upward to the ceiling, that’s a posterior tilt. If your fingertips are pointing diagonally downward to the floor, you’re in an anterior tilt.
It’s important to be in a neutral pelvis for these exercises as it’s the most efficient and natural alignment for the pelvis, whether you are standing, sitting, or lying down. It’s the way your body best moves functionally. When you’re standing, imagine that your pelvis was a bowl of water and that the water sits evenly and does not slosh out to the front or the back.
Ribs
Once your pelvis is in neutral, it’s much easier to align the rest of your body. Think of your rib cage as an accordian: as you breathe in, your rib cage expands laterally, and as you breathe out, your rib cage comes back in, knitting your abdominal muscles closer together.
Shoulders
Keep your shoulders stable but allow room for your shoulder blades to glide when arms are moving. If you feel tense or rigid in your neck and shoulders, take a deep breath and reset.
Head
Keep the natural curve in your neck , finding a place where the tip of your nose is pointed forward, and you’re imagining the crown of your head lengthening upwards.
Let’s Get Moving!
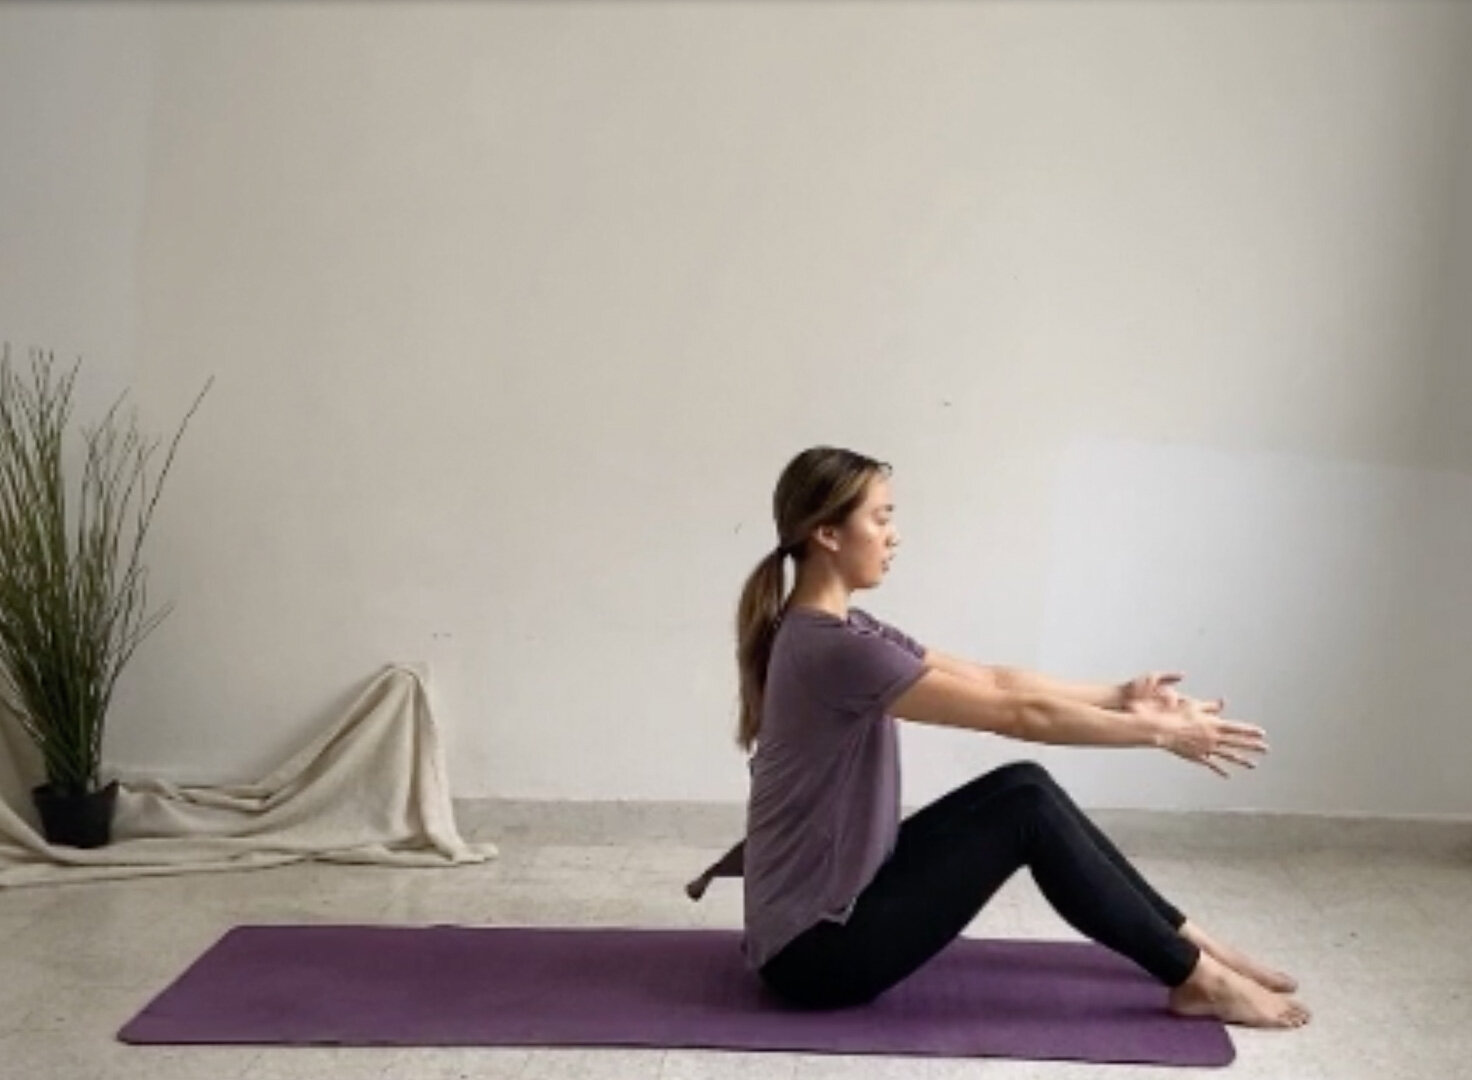
1. Roll Up (Knees Bent)
Muscle Focus: Abdominals
Purpose: abdominal strength, mobility and stability of the spine
Lie faceup with your arms overhead, palms facing each other
Bend your legs to a comfortable angle where you’re sitting directly over your sitz bones in a neutral pelvis, move your feet further forward or backward as you see fit.
Inhale and lift your arms up and forward, followed by your head and chest
Exhale as you continue to roll up, keeping your spine in a C-shape
Inhale pause and straighten your spine
Exhale to roll your spine down towards the mat, returning to your starting position
Tips:
Maintain a C-curve throughout the movement to roll up and roll down
Pause when your shoulders are aligned above your hip joints
Keep length in the back your neck, with a slight chin nod (imagine a small lemon placed between your chin and chest)


2. Spine Twist Supine
Muscle Focus: Abdominals (obliques)
Purpose: spinal rotation, stabilising pelvis-lower back, and abdominal control with emphasis on obliques.
Lie faceup with your arms extended out to your sides in a T-position and palms up. Bend your knees and lift one leg at a time off the mat and into a tabletop position (hips and knees bent at 90°)
Inhale: lower legs to the left
Exhale: draw abdominals in and return to starting position
Tips: Relax your shoulders and keep shoulder blades on floor
Keep your lower back in contact with the mat to avoid arching in the lumbar spine.

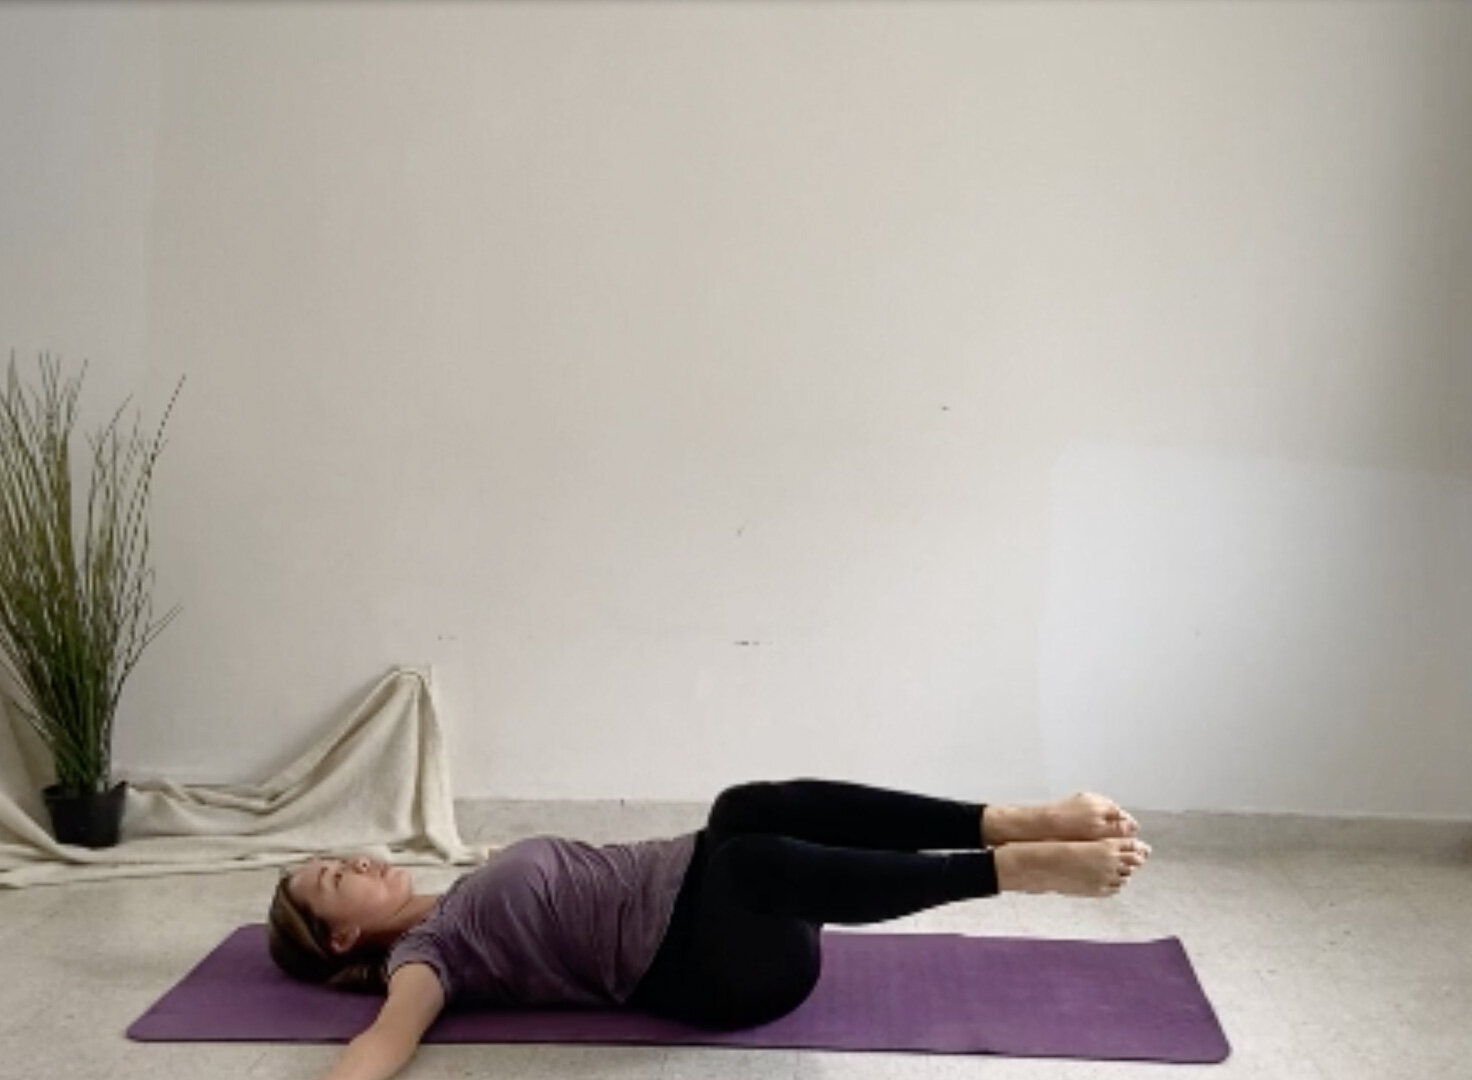

3. Hundred Prep
Muscle Focus: Abdominals (obliques)
Purpose: Abdominal strength and trunk stabilization
Lie faceup with your arms overhead, palms facing the ceiling, legs in a tabletop position
Inhale to prepare
Exhale as you lift the arms, head and chest in one unit, bringing your arms to your sides and palms next to hips
Inhale as you lower the body and return to starting position
Tips
Imagine your collar bones extending to the side to avoid the shoulders rounding forward
Move your arms intentionally through space, as if the air molecules were filled with honey and you’re pressing down and lengthening fingers forward


4. Hundred
Muscle Focus: Abdominals
Purpose: Abdominal strength and trunk stabilization
Lie faceup with your arms overhead, palms facing the ceiling, legs in a tabletop position
Inhale to prepare
Exhale as you lift the arms, head and chest in one unit, bringing your arms to your sides and palms next to hips
Pump arms up and down
Exhale through the mouth for five pumps
Inhale through nose for five pumps
* The hundred can also be done with straight legs, with the height of legs dependant on maintenance of neutral pelvis and hamstring flexibility
Tips
Use deep, long breaths
Keep arm pumps small and lengthen arms through triceps and forearms


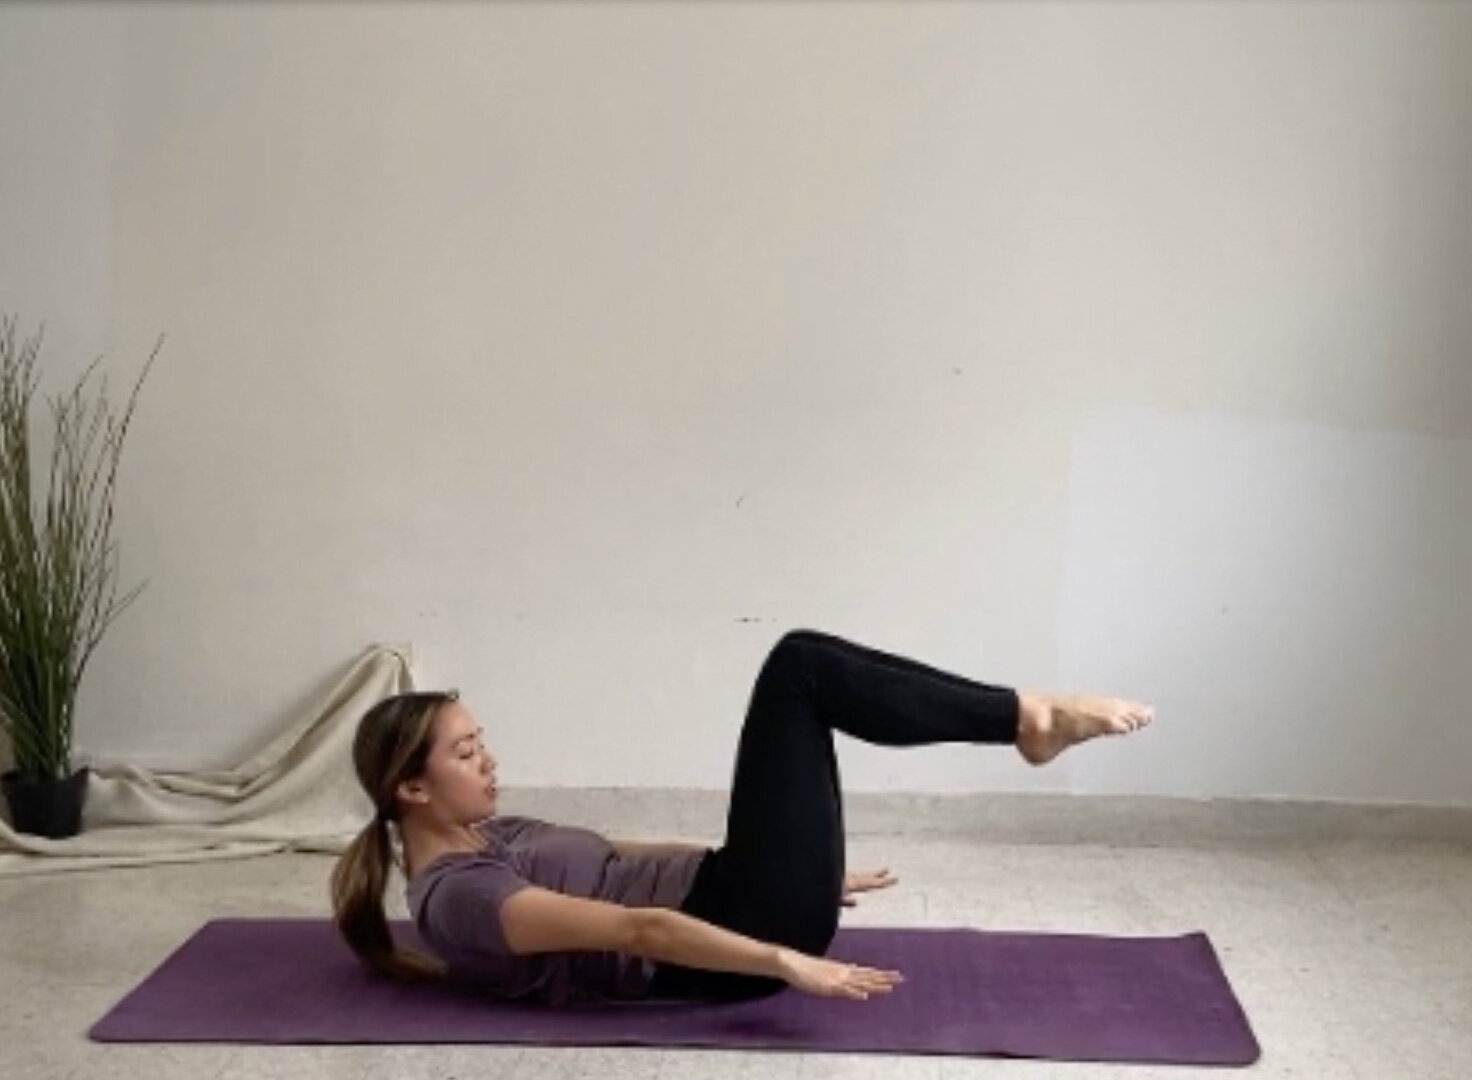
5. Single Leg Stretch
Muscle Focus: Abdominals
Purpose: Abdominal strength and trunk stabilization
Lie face up, with your hands on your knees, shins parallel to the floor.
Exhale as you lift your head and chest
Inhale prepare
Exhale straighten one leg, while hands stay on bent knee
Inhale switch legs
Exhale straighten other leg
Inhale switch legs
Tips
Maintain stable position of the body
Keep feet at the same height throughout
Keep shin of bent leg parallel to the mat


6. Double Leg Stretch
Muscle Focus: Abdominals
Purpose: Abdominals and trunk stabilization
Lie face up, with your hands on your knees, shins parallel to the floor.
Exhale as you lift your head and chest
Inhale, reach your arms overhead while straightening the legs forward on a diagonal
Exhale, circle the arms around and back toward knees as you simultaneously draw legs in
Keep head and chest lifted throughout
Tips
Reach your arms as far back as possible while maintaining length and alignment through neck
Maintain stability in pelvis, trunk, and head


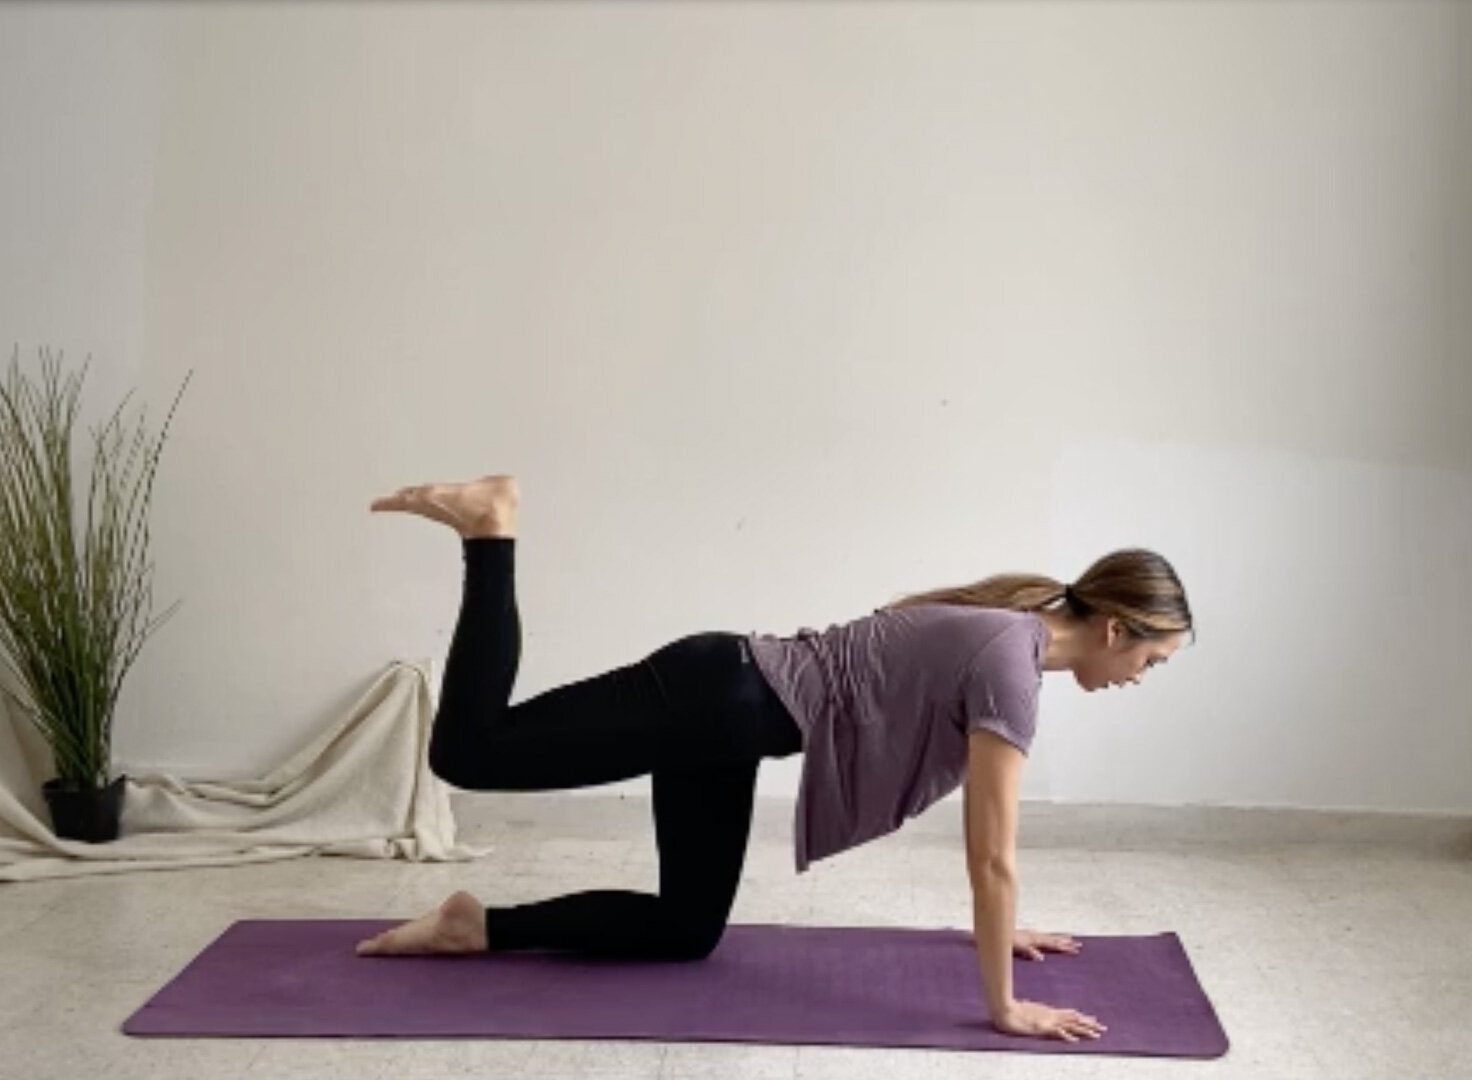
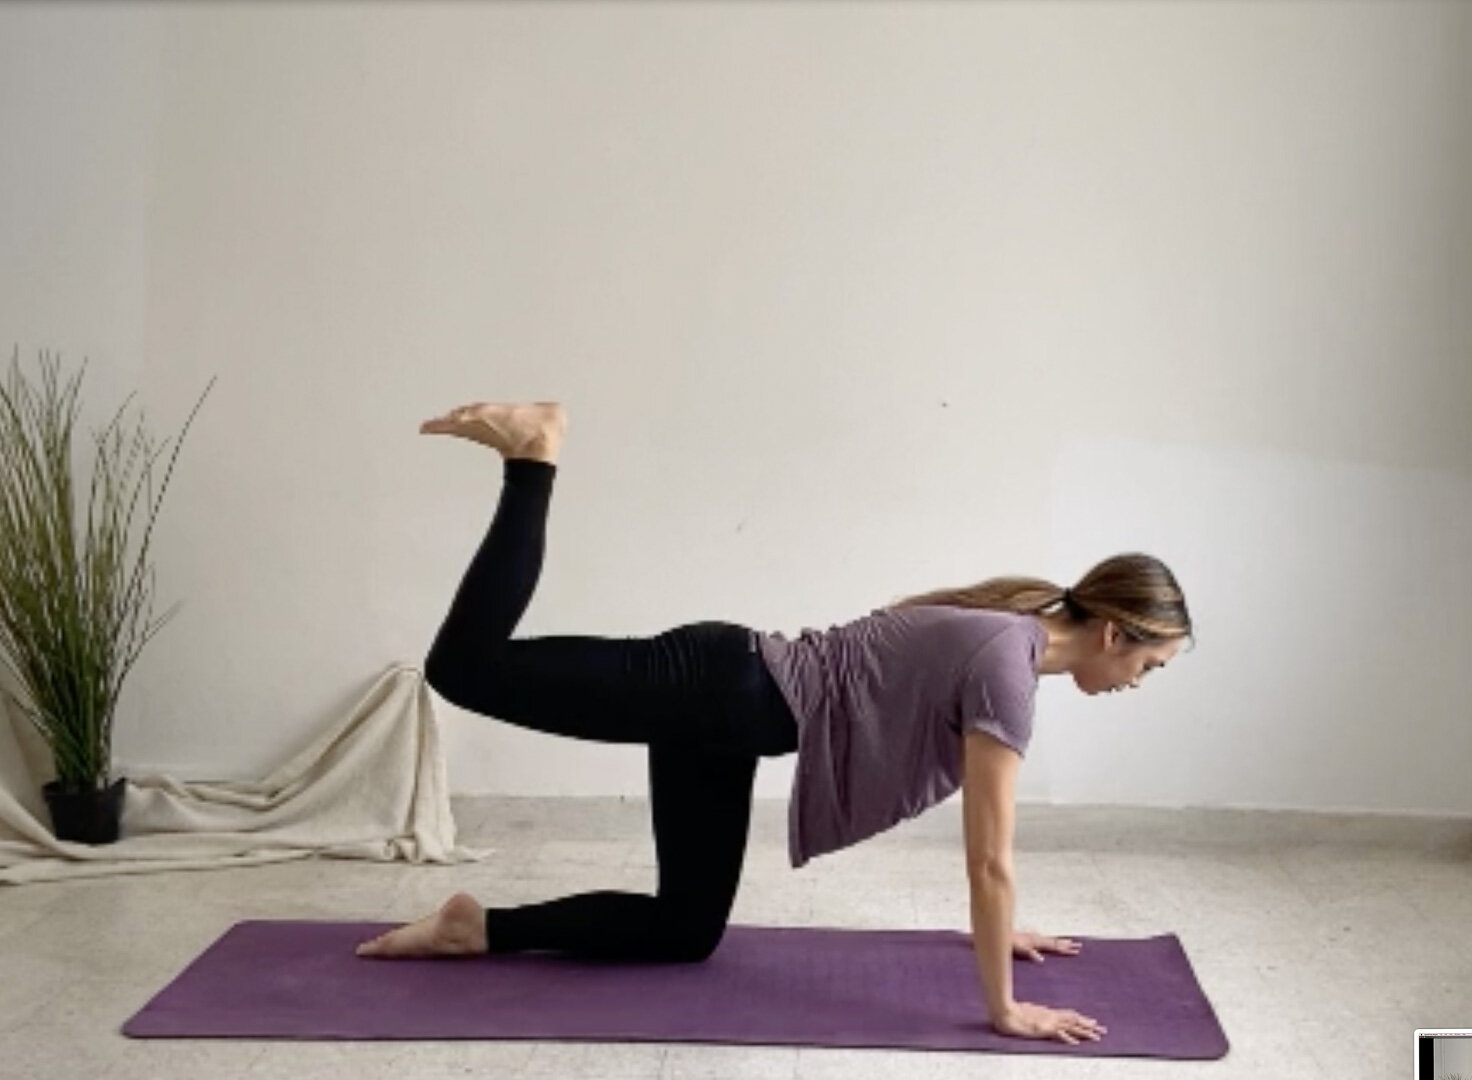
7. Hip Extension Pulses
Muscle Focus: Glutes and hamstrings
Purpose: Pelvic stability
Move onto all 4’s (shoulders directly over wrists, and hips over knees)
Lengthen back of your neck
Lift one leg in parallel (shin toward floor), and bend at a 90 degree angle
Pulse the ankle upwards, alternating between a flexed foot and pointed foot, alternating your breaths every 2 pulses
Keep your low back stable while maintaining a neutral pelvis

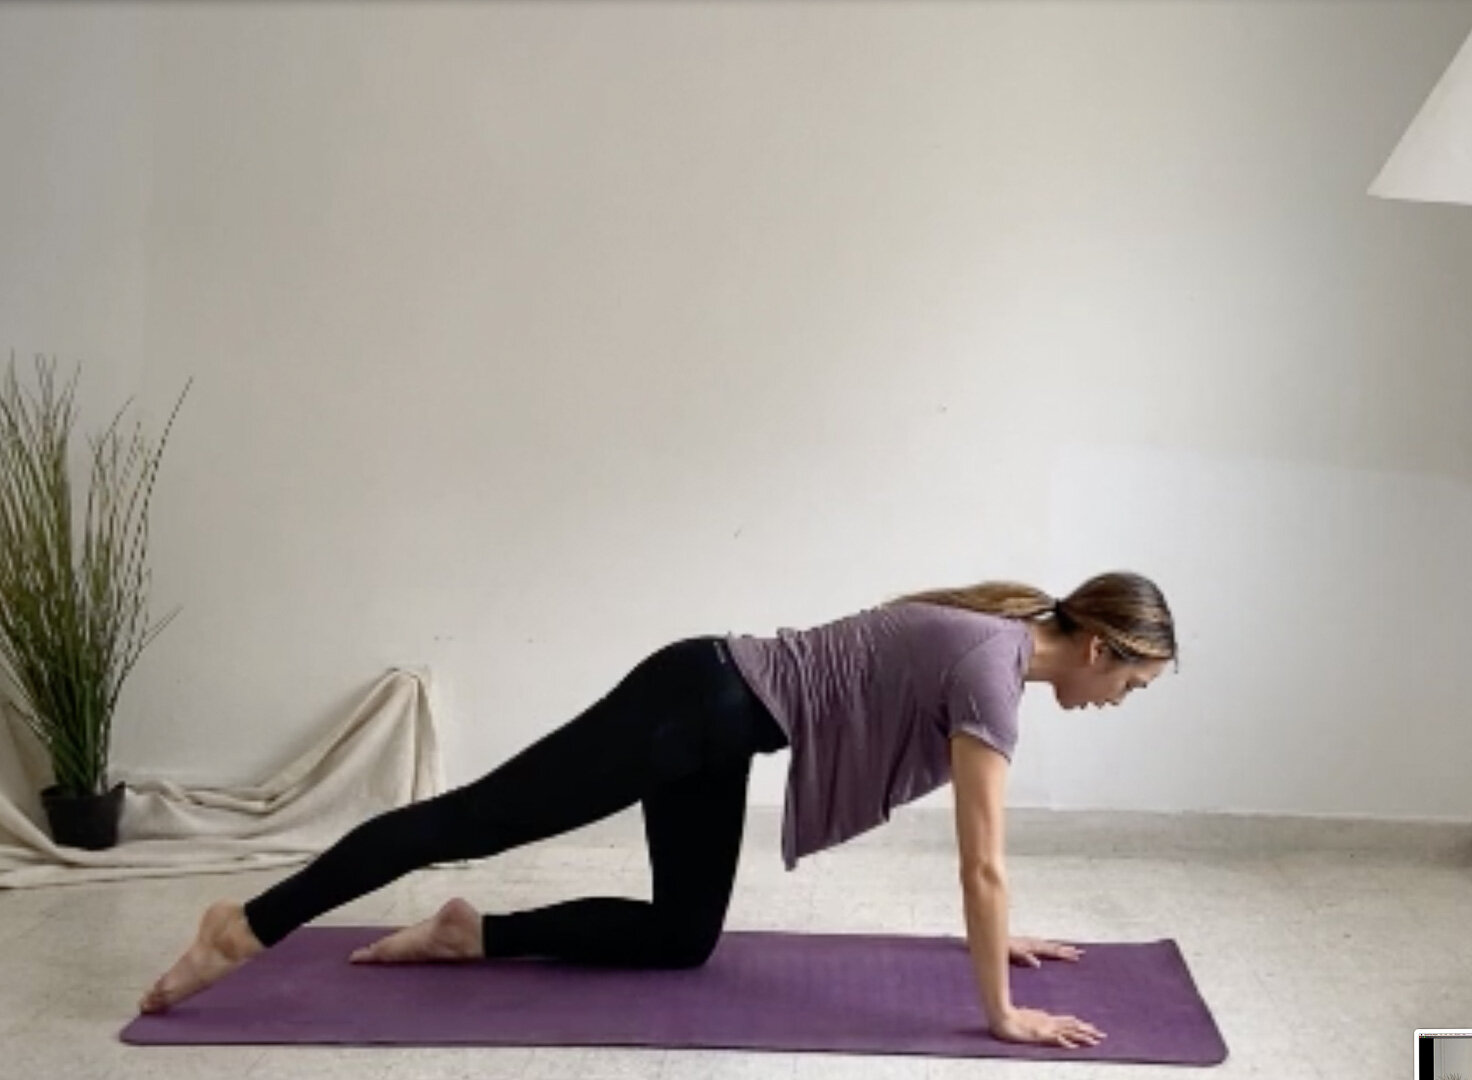
8. Straight Leg Toe Taps
Muscle Focus: Glutes and hamstrings
Purpose: pelvic stability
Kneeling in a quadruped position/on all 4’s, hands under shoulders, knees under hips, Lengthen back of your neck
Exhale, Lift right leg in parallel to hip height (shin toward floor), while the other leg supports on the mat
Inhale, lowering the leg, touching the right corner of your mat lightly with the top of the foot
Exhale, lift up
Inhale, cross the leg, lightly tapping the left corner of your mat with the top of the foot
Tips
As you lift leg, Lengthen back of your knee and reach long through the toes


9. Leg Pull Front
Muscle Focus: Hip extensors
Purpose: Control of muscles that extend the hip, upper body strength, stabilisation of shoulder blades
Start in a front support/push-up position
Exhale, lift one leg slightly off the mat, maintaining a neutral pelvis, and pointing the foot
Inhale, lowering the leg, touching the mat lightly with the top of the foot
Exhale, lift up
Repeat for 5 rounds before changing to the other leg
Tips
Keep height of hips the same throughout
Visualize length from opposing ends of body; reaching forward through crown of the head and lengthening further through the heels of feet


10. Side Bend
Muscle Focus: Abdominal obliques
Purpose: Strengthening and stretch of Abdominal obliques, and shoulder strength and stabilization
Sit sideways on one hip, with palm on mat
Bend legs slightly with foot of top leg in front of the bottom leg
Rest the top arm at your side
Inhale, lift the pelvis up off the mat as you straighten the legs, keeping shoulder in line with bottom wrist
Float the top arm to shoulder height as body goes into a diagonal line
Exhale, lift pelvis higher toward the ceiling, while curving the top arm overhead, feeling the stretch at the side of your body
Inhale, return to sideways “T-position”
Exhale, lower body to starting position
Tips
Keep inner thighs together
Avoid opening ribs forward
Movement comes from your side muscles (lateral flexors), avoid overpowering with your legs in the beginning phases


Rest Position
Purpose: Relaxation of your lower back and stretch of the lower spine
Come to a kneeling position with your pelvis resting on your heels
Walk your hands forward on the mat, lowering your ribcage and chest towards your thighs
Continue to reach your arms forward, relaxing your neck and letting your forehead rest on the mat
Take a deep inhale through your nose, and slowly exhale out through your mouth
Breathe as you relax your back and entire body, expanding the rib cage with each breath
Tips
Let your pelvis sinking towards your heels, letting go of any muscular tension with every exhale
Imagine each vertebrae opening out and being filled with air bubbles
Written by Joanna Koleth
Joanna is a certified pilates instructor and is married to Glenn, they attend Kingdomcity in Kuala Lumpur.